 Pin it
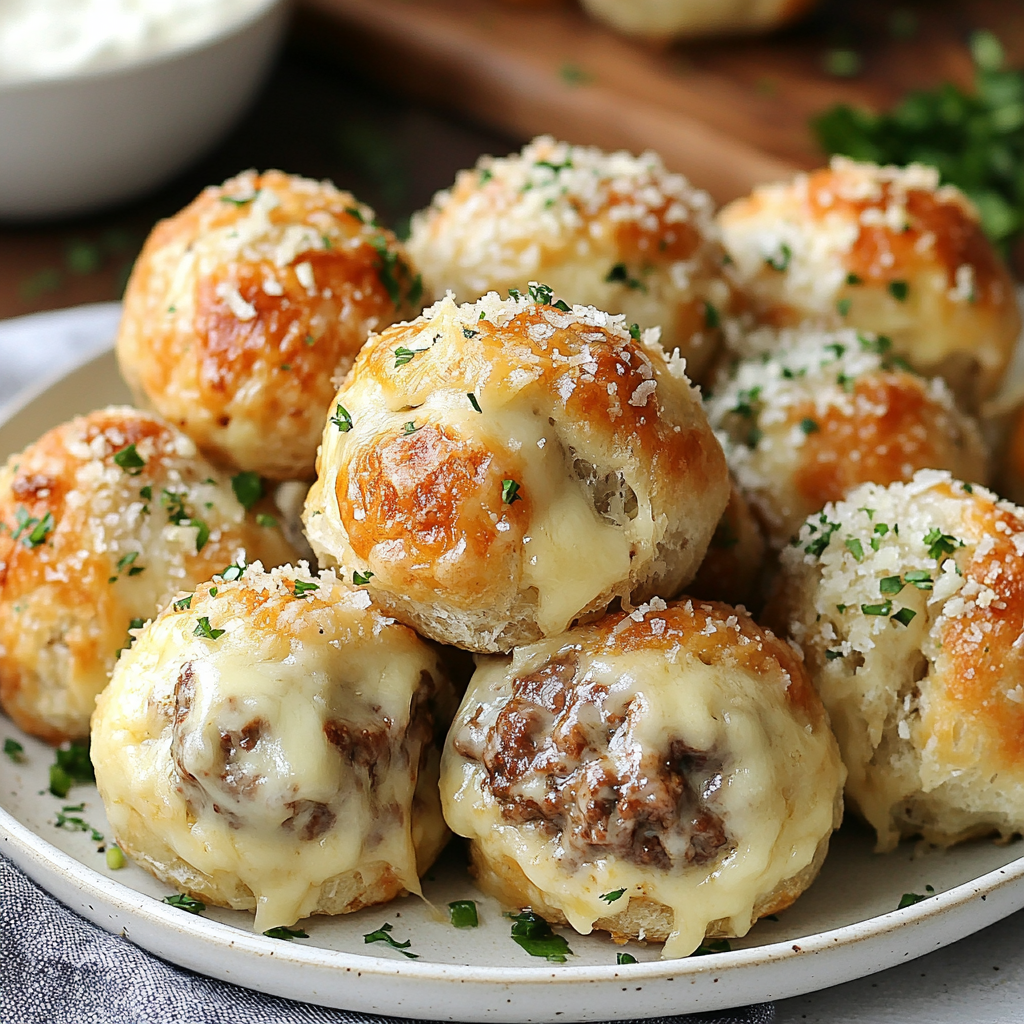
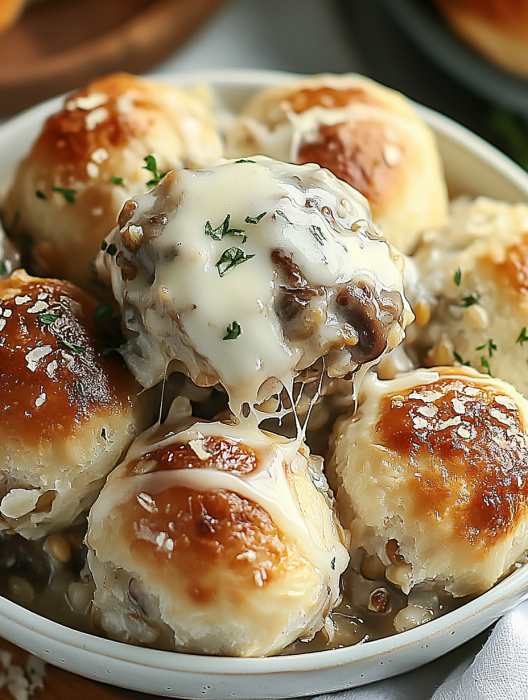
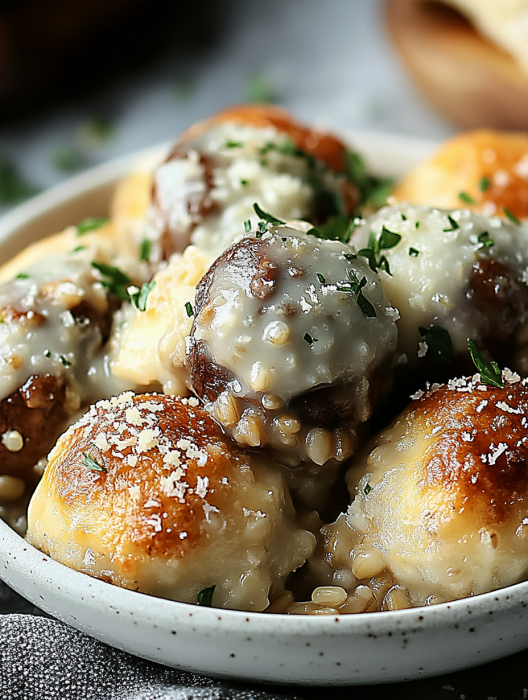
Garlic Parmesan Cheeseburger Bombs transform the classic cheeseburger into delightful, handheld bites that bring pure joy to your table. These golden-brown treasures combine seasoned beef and melty cheese wrapped in buttery dough, then coated with a savory blend of garlic and Parmesan that creates an irresistible aroma as they bake. Perfect for casual gatherings or a cozy family dinner, these bombs deliver the comfort of a cheeseburger in every bite.
Last weekend, I made these for my nephew's birthday party, and they vanished within minutes. The kids loved the fun size, while the adults appreciated the sophisticated garlic Parmesan twist. I even caught my brother-in-law sneaking extras into his napkin!
Essential Ingredients and Selection Tips
- Ground beef (80/20): This blend provides the perfect balance of lean meat and fat for juicy, flavorful bombs. Look for freshly ground beef with a bright red color
- Sharp cheddar cheese: Choose freshly shredded over pre-packaged for better melting. The sharp variety adds more depth to the overall flavor
- Refrigerated biscuit dough: The flaky layers create an amazing texture. Let it come to room temperature for easier handling
- Fresh garlic and aged Parmesan: Skip the pre-grated stuff - fresh ingredients make all the difference in the coating
- European-style butter: Its higher fat content creates a richer garlic coating that browns beautifully
 Pin it
Detailed Instructions
- Step 1:
- Prepare the beef filling: Heat your pan until a drop of water sizzles, then add the ground beef. Break it into small, even pieces as it browns. Season generously with salt and pepper, stirring occasionally until the meat develops a deep brown color. The key is not to overcrowd the pan - work in batches if needed.
- Step 2:
- Create your bombs: Roll each piece of dough into a 4-inch circle on a lightly floured surface. Place a generous tablespoon of beef in the center, top with shredded cheese, then carefully bring the edges up and over, pinching firmly to seal. Roll between your palms to ensure a perfect sphere.
- Step 3:
- Perfect the coating: Melt butter slowly over low heat, add minced fresh garlic and let it infuse for 2-3 minutes without browning. Brush each bomb generously, then sprinkle with freshly grated Parmesan.
- Step 4:
- Master the bake: Position your rack in the middle of the oven for even heating. Place bombs seam-side down, leaving space between each for proper browning. The golden moment comes when you see the cheese just starting to bubble through tiny cracks.
- Step 5:
- Finishing touches: Let them rest for 3-4 minutes after baking - this helps the cheese set slightly so it doesn't burn your mouth.
 Pin it
Growing up, my grandmother always said garlic was nature's medicine. She'd add it to everything, and these bombs remind me of her cooking wisdom. The aroma of garlic and butter still takes me back to her kitchen.
Chef's Helpful Tips
- Brush the tops with egg wash before the garlic butter for an extra golden shine
- Let the filled bombs rest for 10 minutes before baking to help prevent cheese leaks
- If making ahead, keep the garlic butter coating separate until just before baking
After years of perfecting this recipe, I've found these bombs represent everything wonderful about comfort food - they're satisfying, shareable, and bring people together. Whether served at a casual gathering or a cozy family dinner, they never fail to create smiles and spark joy around the table.
Frequently Asked Questions
- → Can I make these cheeseburger bombs ahead of time?
- Yes! You can prepare them up to 24 hours ahead. Just assemble, cover with plastic wrap, and refrigerate. Brush with the garlic butter right before baking.
- → What's the best way to reheat leftover cheeseburger bombs?
- Reheat in the oven at 350°F for 5-7 minutes or until warm. Avoid using the microwave as it can make the biscuit dough soggy.
- → Can I freeze these cheeseburger bombs?
- Yes, you can freeze them before or after baking. Wrap individually in foil and freeze for up to 3 months. Thaw overnight before reheating.
- → What dipping sauces go well with these?
- Try ketchup, ranch dressing, honey mustard, garlic aioli, or BBQ sauce. A spicy chipotle mayo also works great!
- → Why is my filling leaking out while baking?
- Make sure to pinch and seal the dough edges really well. Also, don't overfill them - about 2-3 tablespoons of filling per bomb is perfect.
