 Pin it
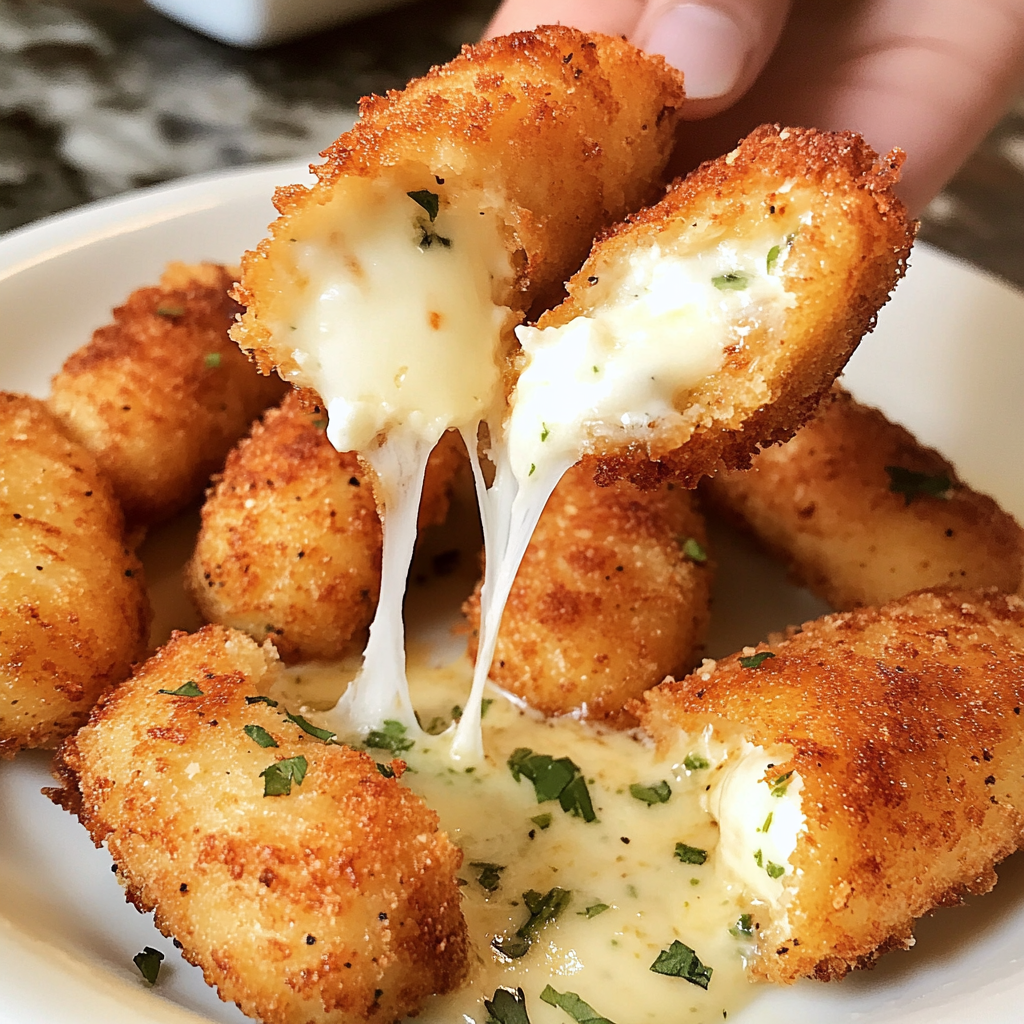
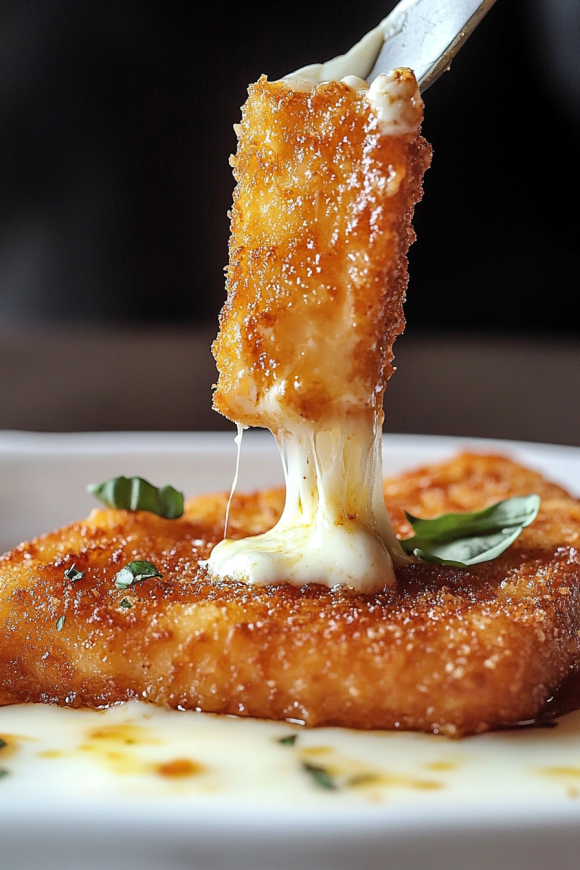
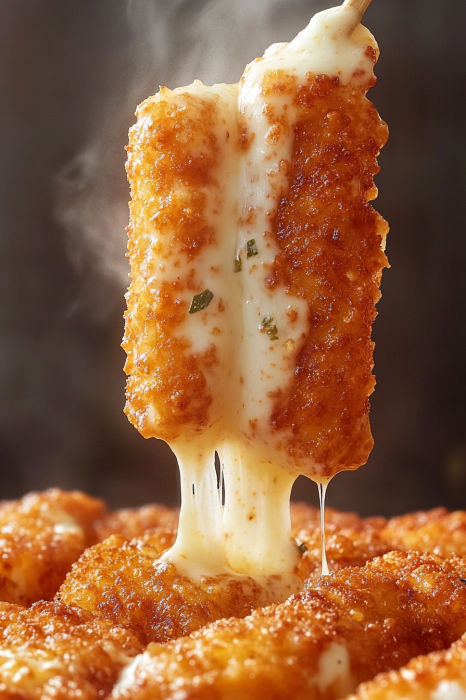
Picture biting through a crispy, spice-coated exterior to find perfectly melted cheese pulling into irresistible strings. These Nashville Hot Mozzarella Sticks are what happens when comfort food meets bold Southern heat - a mashup that's almost too good to be true. The contrast between the fiery coating and cool ranch dip creates a flavor experience that'll have everyone reaching for 'just one more.'
I created these after a trip to Nashville, wanting to bring that signature heat to my favorite appetizer. Even my heat-shy friends can't resist them, thanks to the cooling ranch dip.
Essential Ingredients and Selection Tips
- Mozzarella: Choose whole-milk mozzarella for the best melt. Pre-sliced works, but cutting your own ensures perfect sizes
- Cayenne: Fresh, bright red cayenne makes all the difference in the hot sauce
- Breadcrumbs: Panko creates the crunchiest coating
- Buttermilk: Real buttermilk makes the ranch dressing extra creamy
- Oil: Choose one with a high smoke point like vegetable or canola
 Pin it
Detailed Instructions
- Perfect your breading station:
- Set up a sequence of flour, egg wash, and seasoned breadcrumbs. Keep one hand for wet ingredients and one for dry to prevent breading your fingers.
- Master the double-coating:
- After the first breading, let them rest for a minute before the second coat. This helps create that extra-crispy shell that prevents cheese leaks.
- Freeze with purpose:
- Arrange them on a parchment-lined tray with space between each stick. This step is crucial - it prevents cheese explosions during frying.
- Control your heat:
- Test oil temperature with a small piece of breading. If it sizzles gently and turns golden in about 30 seconds, you're ready.
- Time the sauce:
- Brush the hot sauce on while they're still warm but not blazing hot. This helps it stick without making them soggy.
 Pin it
Creating Nashville Heat Magic
Through trial and error, I've discovered that the secret lies in the Nashville hot sauce. Making it ahead allows the spices to bloom properly, creating that signature flavor that's fiery but still lets the cheese shine through.
My friend from Nashville taught me that real Nashville hot sauce isn't just about heat - it's about building layers of flavor with the sweetness of brown sugar and the depth of smoked paprika balancing the cayenne's fire.
Make-Ahead Magic
These are perfect for party prep. Bread them up to a month in advance and keep frozen. The ranch dip can be made 2-3 days ahead, and actually tastes better after the flavors meld.
Perfect Pairings
While the buttermilk ranch is classic, I sometimes serve these with a honey drizzle for sweet heat, or even a spicy maple syrup for a Nashville-meets-Canadian twist.
Chef's Helpful Tips
- Don't crowd the frying oil - work in small batches
- Keep finished sticks warm in a low oven while completing batches
- Have all your sauces and garnishes ready before frying
After countless batches of these spicy mozzarella sticks, I've learned they're more than just an appetizer - they're conversation starters that bring people together over shared love of cheese and heat. Whether you're serving them for game day or a casual gathering, these Nashville Hot Mozzarella Sticks create those moments where everyone crowds around the plate, reaching for another stick while debating if they need more ranch dip. The combination of crunchy coating, melty cheese, and bold Nashville spice creates something truly unforgettable.
Frequently Asked Questions
- → Why do I need to freeze the sticks?
- Freezing prevents the cheese from melting too quickly when frying, helping keep the breading intact and giving you that perfect cheese pull.
- → Can I adjust the spice level?
- Yes! Reduce the cayenne pepper in the hot sauce, or brush only half the sauce on for less heat.
- → Can I make these ahead?
- You can bread the sticks and freeze them for up to 2 weeks. Fry and sauce them just before serving.
- → What oil is best for frying?
- Use a neutral oil with a high smoke point like vegetable, canola, or peanut oil.
- → Can I bake these instead of frying?
- Yes, bake at 400°F for 8-10 minutes, turning halfway. They won't be quite as crispy but still delicious.
