
 Pin it
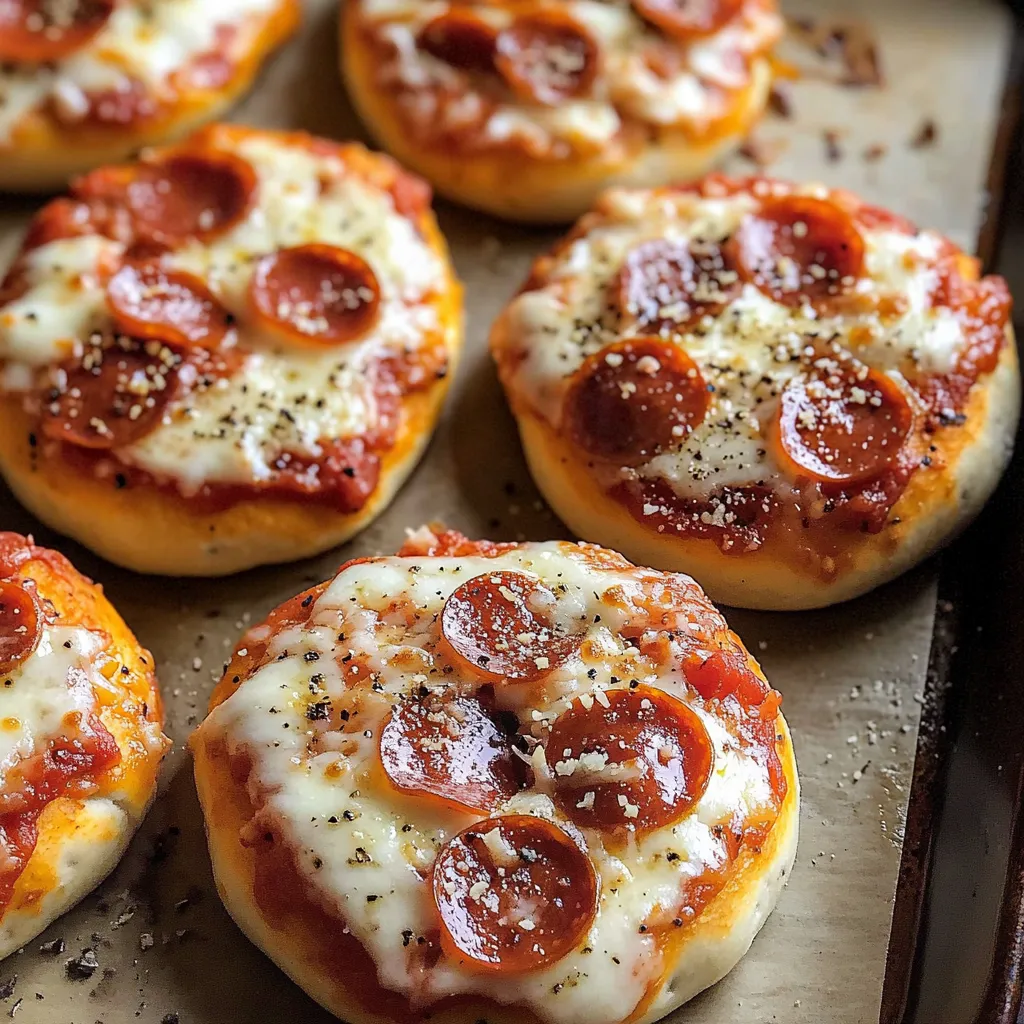
Create delightful homemade mini pizzas using a simple yogurt-based dough - perfect for lunchboxes and snack time. This recipe transforms basic pantry ingredients into tasty personal pizzas that are both fun to make and satisfying to eat.
Years of making these mini pizzas have shown that precise dough handling and uniform sizes are key to achieving perfect portable results.
Key Ingredients
- Self-Rising Flour: Provides reliable lift
- Greek Yogurt: Use full-fat for best results
- Tomato Paste: Rich, concentrated flavor
- Mozzarella: Grate fresh for superior melting
- Mini Pepperoni: Sized perfectly for small pizzas
- Italian Herbs: For authentic pizza flavor
Preparation Steps
- 1. Make the Dough:
- Mix 2 cups self-rising flour with 1 cup Greek yogurt until combined. Knead on floured surface 5-7 minutes until smooth. Add flour if sticky. Rest dough 5 minutes if resistant.
- 2. Form Mini Pizzas:
- Roll dough to ¼-inch thickness. Cut 3-inch circles using cutter or cup rim. Gently re-roll leftover dough. Place circles on lined baking sheet.
- 3. Add Toppings:
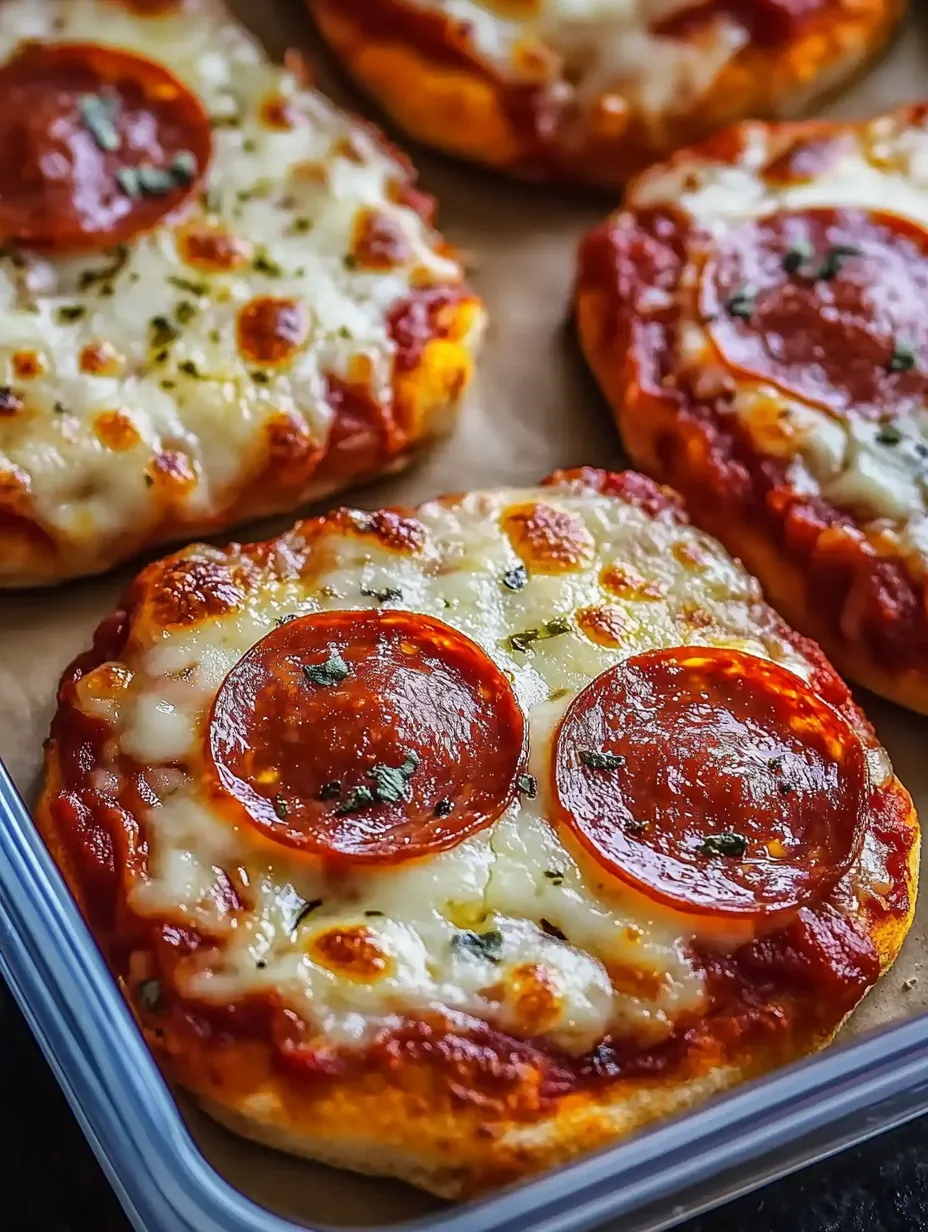
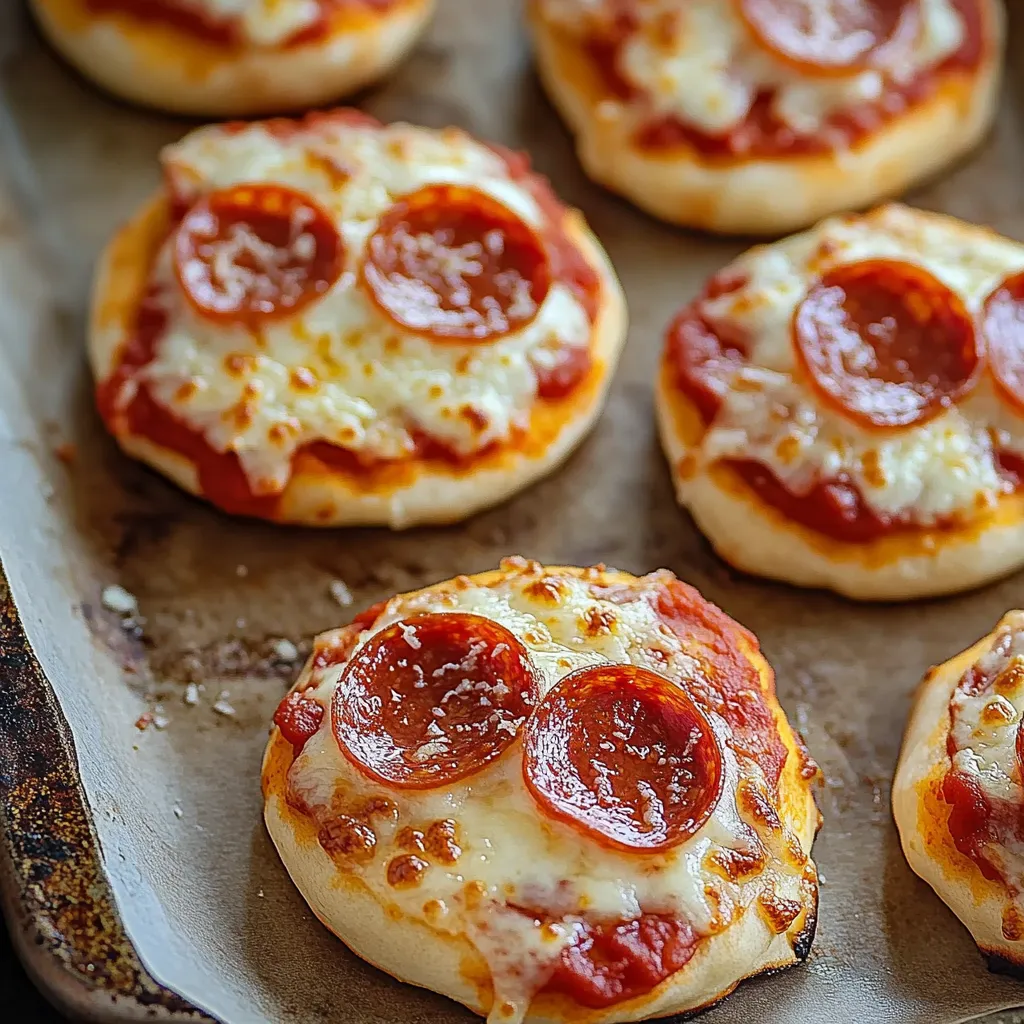
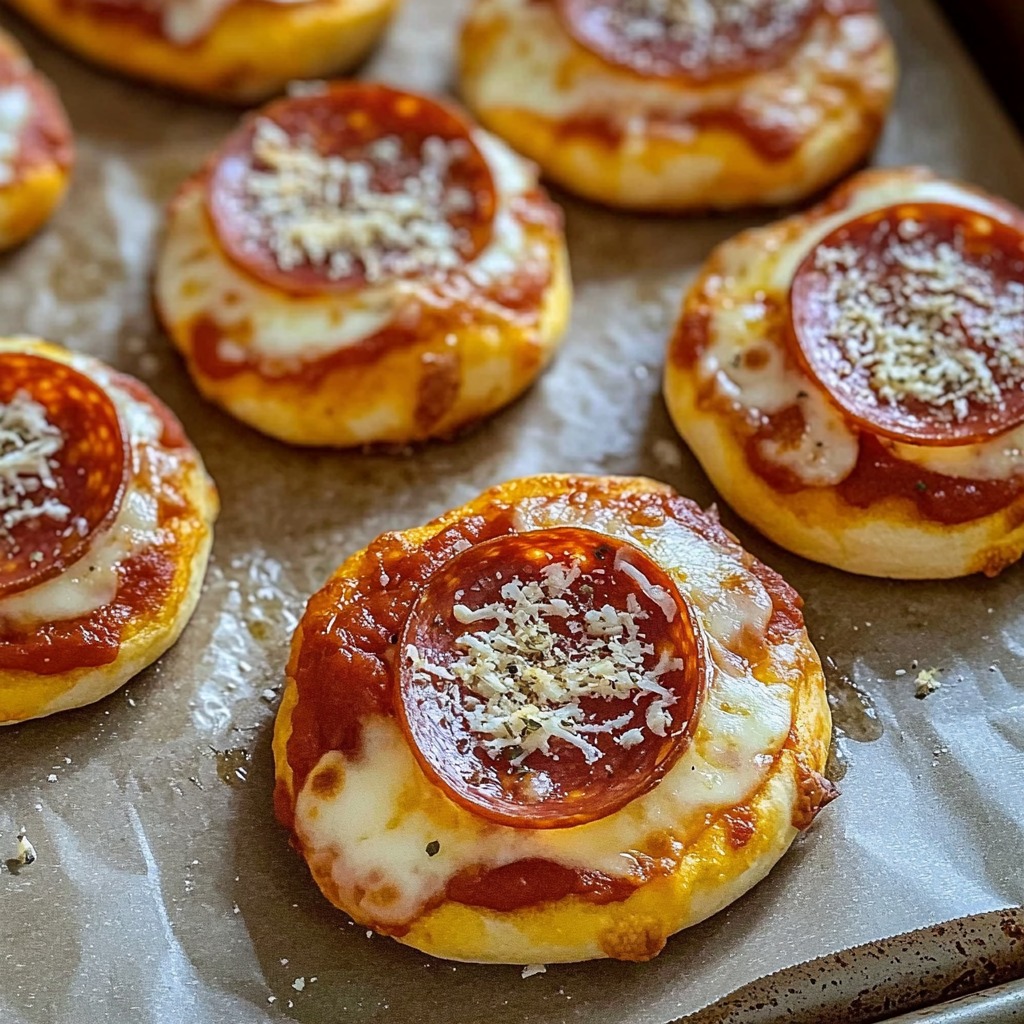
- Spread thin layer of tomato paste on each round, leaving edge bare. Dust with Italian herbs. Top with mozzarella and mini pepperoni.
- 4. Bake Pizzas:
- Cook at 400°F for 12-14 minutes until edges golden and cheese bubbling. Bottoms should be crisp.
- 5. Cool Properly:
- Rest 5 minutes on pan, then move to cooling rack to prevent sogginess.
 Pin it
Storage Guidelines
- 1. Short-term Storage:
- Cool completely before storing in containers. Separate layers with parchment. Keep refrigerated up to 3 days. Pack with cold pack for lunches.
- 2. Long-term Storage:
- Freeze solid on baking sheet. Transfer to freezer bags, removing air. Store up to 3 months. Thaw in fridge overnight.
 Pin it
Suggested Side Items
- Crunchy vegetable sticks
- Fresh seasonal fruit
- Creamy Greek yogurt
- Wholesome trail mix
- Fresh baby carrots
- Sweet cherry tomatoes
- Classic string cheese
- Fresh hummus dip
Topping Combinations
- Tangy BBQ chicken
- Classic margherita
- Garden vegetable
- Tropical Hawaiian
- Spicy Mexican
- Fresh pesto
- Creamy white pizza
 Pin it
These convenient mini pizzas demonstrate how homemade can be both practical and delicious. Perfect for lunch preparation or afternoon snacks, they'll become a regular part of your cooking routine. Attention to size consistency and proper cooling ensures the best portable results.
Frequently Asked Questions
- → Is it okay to make the dough beforehand?
- Yes, keep the dough wrapped in the refrigerator for up to a day before you need it.
- → What else can I put on them?
- Consider ham, other cheeses, veggies, or just go full cheese.
- → How do I keep the bottoms from getting mushy?
- Make sure the oven is totally heated and don’t put too much tomato sauce.
- → Could I freeze them and cook later?
- Definitely, you can freeze the completely cooked pizzas for nearly 3 months. Heat them in the microwave or oven.
- → Why is yogurt used in this bread?
- Greek yogurt makes a nice bread, so you can skip the yeast and wait time.