
Unveiling the Charm of Large Curd Cottage Cheese
Hey there, friends and fellow cheese enthusiasts! Let me tell ya, there’s a whole lotta love to be had for the often overlooked, but oh-so-delicious, large curd cottage cheese. Now, I know what you’re thinking – “Cottage cheese? Really?” But trust me, once you’ve tried your hand at making this bad boy at home, you’re gonna be smitten. 😍
The Appeal of Homemade Cheese
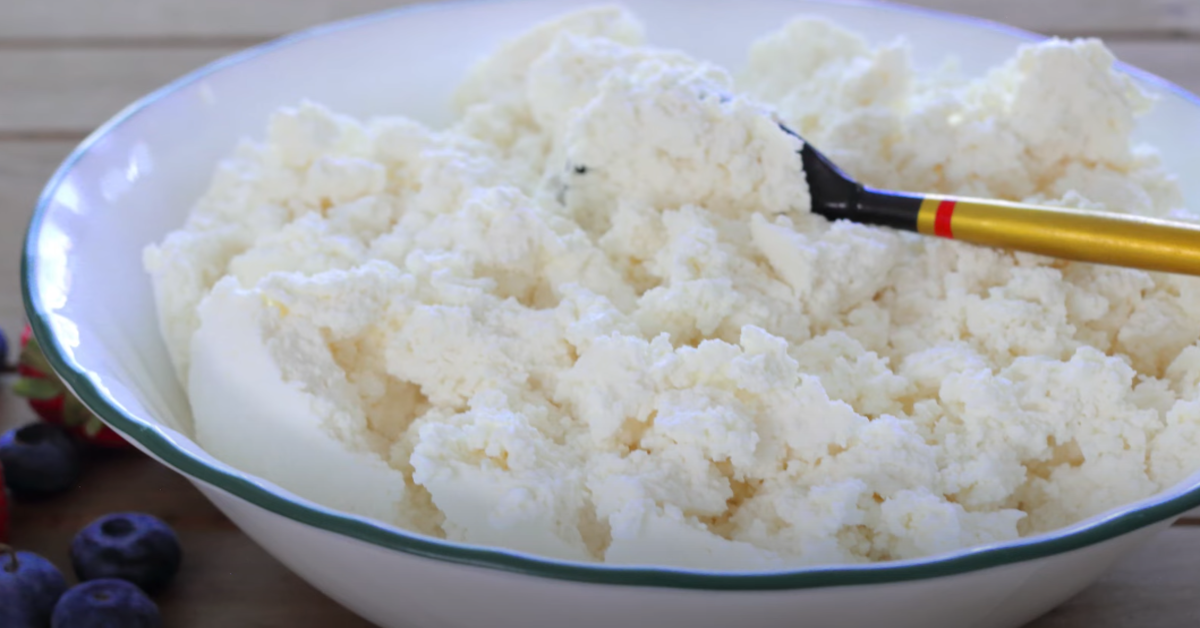
First off, let’s talk about why homemade cheese is just the bee’s knees. Crafting your own batch means you’re in the driver’s seat – you’ve got total control over the flavor, the ingredients, and the size of those yummy curds. And when it comes to large curd cottage cheese, we’re aiming for those delightful, plump morsels that offer a satisfying bite and a creamy mouthfeel.
Versatility in the Kitchen
- Dazzlingly Diverse: Plop it on a slice of toast, mix it into a pancake batter, or let it grace your salads – this cheese is like the Swiss Army Knife in your culinary toolkit.
- Snack Time Superstar: Pair it with peaches, pears, or your favorite preserves for a snack that’s both nutritious and downright scrumptious.
Nutritional Benefits
Did someone say healthy? Yep, large curd cottage cheese is packed with protein, which means it’s great for keepin’ those muscles happy and hunger at bay. Plus, it’s a fantastic source of calcium for bone health, and let’s not forget the probiotics that are just the ticket for a happy gut. 😊
So, you’re ready to dive into the world of curd creation, huh? Well, buckle up, ’cause in the next section, we’re gonna demystify those Essential Ingredients for Curd Mastery. You’ll need some stellar milk, the right coagulant, and a pinch of salt to kick things off. Let’s get cheesy!
Essential Ingredients for Curd Mastery
Hey there, fellow foodies! So you’re thinking about diving headfirst into the thrilling world of curd crafting? Let’s rap about the essential ingredients you’ll need to whip up some lusciously large curd cottage cheese. Not only is it a hoot to make, but it also packs a nutritional punch that’ll have your taste buds and body doing a happy dance.
First things first, let’s gab about choosing the right milk. You’re gonna want to aim for the cream of the crop—high-quality milk is non-negotiable. I’m talking about the freshest, least processed milk you can find. It’s like picking a date for the prom; you don’t want just anyone—you want the best partner for a night to remember, right?
Next up on the hit parade are coagulants. These are the secret sauce that’ll turn your milk from liquid gold to curd nuggets. Your local grocery store might have options like rennet or lemon juice, and sometimes, you might even find them hanging out in the same aisle as the baking soda. Now, don’t go all mad scientist on me—remember, each coagulant will give your curds a unique twist, so choose wisely!
Now let’s chat about the role of salt. Adding a dash of salt is like adding the perfect accessory to an outfit—it enhances the flavor and gives it that certain je ne sais quoi. But hey, don’t just go shaking it on willy-nilly; a little goes a long way!
Imagine you’re a maestro conducting an orchestra of flavors. You’ve got your baton ready, and it’s time to bring harmony to the ingredients. Now, while you’re envisioning those perfect curds, take a sneak peek at this tantalizing guide on curds to get the lowdown on the curd showdown.
And just when you think you’ve got it all figured out, let me throw you a curveball. Ever wonder why your curds look more like a lumpy mattress than little pillows of heaven? Well, fret not! We’ll get into the alchemy of curdling milk in the next section. You’ll be crafting curds so large, they’ll need their own zip code! So, stay tuned, cheese whizzes.
The Alchemy of Curdling Milk
Ever wonder what kind of magic turns your average, everyday milk into those delightfully tender curds? It ain’t Hogwarts, my friends—it’s science! The process is a bit like turning base metals into gold, if by ‘gold’ you mean ‘large curd cottage cheese’. So, let’s break it down, shall we?
Precision in Temperature
First off, let’s talk about heat. Not just any heat, though—we’re aiming for that “just right” Goldilocks zone. Getting the temperature spot on is crucial. Too hot, and you’re making cheese whiz; too cold, and you’ll be waiting till the cows come home. We’re after that sweet spot where milk proteins, specifically casein, start to think, “Hey, let’s get together and make some curds!” Usually, we’re talking about a cozy range around 120°F (49°C). Trust me, a good thermometer isn’t just your friend here; it’s your dance partner.
Timing Your Curds
- Mix ’em, heat ’em, and then… wait. Yup, patience is the name of the game.
- The waiting period is when those little protein buddies start to coagulate.
- And hey, don’t rush this! Good things come to those who wait, right?
Okay, so now you got your milk all heated up and your proteins are getting jiggy with it. The curds are starting to form, and you’re on your way to cottage cheese bliss. But, hold your horses—there’s an art to this. Stir too much, and you’ll break those curds down into a mushy mess. Stir too little, and you’ll end up with cheese the size of boulders. The key? A gentle touch and a watchful eye.
So there you have it, the lowdown on curdling milk. Next up, we’ll shimmy on over to the Choreography of Cutting and Cooking Curds. This is where you’ll learn the moves to ensure your curds are the belle of the ball—large, in charge, and ready to make your taste buds dance. Stay tuned, cheese aficionados!
Choreography of Cutting and Cooking Curds
Alright, folks, let’s get down to the nitty-gritty of curd cutting – the make or break moment in our cheesy saga. It’s not just about hacking away at your milk jello, oh no. It’s about technique, gentle touch, and knowing exactly when to say, “That’s enough!”
Technique for Larger Curds
First up, imagine you’re a ninja with your curd cutter. You’ve got to be precise. Aim for about half an inch to get those lovely large curds. And remember, it’s not a race. Cut slowly and let the whey do its magic, teasing apart the curds like a soft whisper.
Gentle Cooking Method
Now, let’s turn up the heat – but just a smidge. We’re not trying to cook an omelette here. The secret is a low and slow approach, think ‘lazy Sunday morning’. You’ll want to gradually increase the temperature, as if you’re coaxing the curds to wake up and expand without getting all tough and chewy. It’s about finding that sweet spot where they’re just firm enough to hold their own.
Handling Curds with Care
After you’ve cut and cooked your curds, treat them like you would a delicate, treasured heirloom. Go easy on the stirring – it’s more of a gentle fold than a vigorous whirlpool action. You want to avoid breaking them down. And hey, check out this killer guide on large curd versus small curd cottage cheese to get a feel for the curd size you’re aiming for!
Now, you’ve got your curds all plump and ready, but we’re not done yet. Up next, we tackle the art of draining without causing a curd crisis. Stick around, as we uncover some top-notch draining strategies that’ll leave you with the perfect consistency for your curdy creation.
The Whey to Separate: Draining Tips
Now, if you’re anything like me, you’ve probably stared at a blob of cottage cheese and thought, “Why so soggy, buddy?” Well, let me tell you: draining whey ain’t like getting water off a duck’s back—it’s an art! Sure, those little curds are clingy, but with a few tips up your sleeve, you’ll keep them snug without all that extra liquid. 😎
Draining Strategies
- First off, gentle does it. Dumping your curds into a strainer and giving them the old shake-’n’-tug? Forget about it. Instead, picture yourself as a curd whisperer. Use a slotted spoon and caress those babies into a colander lined with cheesecloth.
- Now, here’s where patience pays off. Let gravity do its thing. Rushing can turn your curds into a cottage cheese pancake, and we can’t have that, can we?
- If you’re antsy, a slow and steady press is your friend. Just like coaxing a cat out from under the bed, gentle pressure over time yields rewards.
Preserving Curd Structure
You’ve got to handle those curds as if they were made of gold. Too much pressure and poof, there goes the neighborhood. Lightly pressing with a plate weighted down by cans just might be the ticket to keeping the little gold nuggets intact.
Reusing or Disposing of Whey
- First rule of Whey Club: you do not waste whey. This liquid gold is chock-full of protein and can play a part in soups, breads, or even your next smoothie. Pat yourself on the back for going green!
- Feelin’ generous? Your plants might fancy a bit of whey. Dilute it with water (you don’t want to burn the green guys) and give ’em a sip.
- If you must part ways with your whey, make sure it’s down the sink with plenty of water. Just pretend you’re sending it off to a Niagara Falls vacation.
And hey, don’t be sheepish if your first draining attempt isn’t spot on. This is a learning curve flatter than a pancake on a hot griddle! Now that we’ve got you draining like a pro, let’s move on and cloak those curds with the creamy dressing of your dreams… next up, adorning your masterpiece with that delectable, silky finish it deserves.
Adorning Curds with Creamy Dressing
Now, I’m gonna let you in on a little secret, folks – dressing your curds is like picking out an outfit for a first date; you want to impress! Opting for a savory cream dressing is like choosing that red tie or little black dress – it can truly make your cottage cheese shine. But the beauty’s in the customization – just like your unique style, your curd dressing is all you, baby! 😎
Choosing a Dressing Base
What’s the scoop on the base for your lusciously creamy dressing? Classic palates may lean towards a simple, rich heavy cream or full-fat yogurt. Health-conscious? You’ve got options – think low-fat options, Greek yogurt, or even a zesty vinaigrette if you’re feeling adventurous. It’s all about what tickles your taste buds. 🥄
Customizing Flavor Profiles
Now let’s add a dash of pizzazz! Shake in a pinch of salt, whisper of sugar, or possibly some chives for a gentle onion kiss. You’re the maestro of taste here – whether you fancy it herbaceous, sweet, or tangy, the world is your oyster (or should I say, your curd?). 🌿🧂
Dressing Application Techniques
It’s all in the wrist – when drizzling your dressing over the curds, a gentle hand is key. This ain’t a race, folks; we’re not splashing around in a kiddie pool. You’re looking for a delicate coating that cradles each curd in creamy goodness. It’s a bit like swathing your cottage cheese in a heavenly cloud. Trust me, your tongue will be sending you thank-yous. 🌥️
With those curds all decked out, it’s nearly time to talk storage – but hold your horses! Before we seal ’em up for safekeeping, you’ll wanna know the best way to keep ’em fresh. Keep an eye out for my next savvy tips on proper Storing for Utmost Freshness and Flavor. ‘Cause there’s nothing sadder than a bowl of neglected curds, am I right? 😉
Storing for Utmost Freshness and Flavor
So, you’ve just made a batch of lusciously large curd cottage cheese, and you’re probably thinking, “Now what?” Well, let’s chat about keeping those curds as fresh as the Prince of Bel-Air for as long as possible. It’s all about the savvy storage, my friends. First thing’s first, you’ll need the right container. Plastic containers with tight-fitting lids are like the VIP lounge for your cheese curds: exclusive and air-tight.
- Choose clear containers: Why, you ask? So you can peek at your precious curds without popping the lid and exposing them to the harsh world outside.
- Label and date: “When did I make this again?” said no one ever who used a Sharpie and a piece of tape. Trust me, it’s a lifesaver.
Next on the agenda is temperature. Your fridge should be cooler than a polar bear’s toenails—around 35-40°F (1.7-4.4°C for the Celsius crowd). This cold embrace keeps your cottage cheese from turning into a science experiment. But, keep it away from the fridge’s Bermuda Triangle, also known as the door, where temperatures fluctuate like a yo-yo at a talent show.
Tips for Preventing Contamination
Here’s a no-brainer: always use a clean spoon every time you dip into the container. Unless you fancy playing Russian roulette with bacteria—then by all means, ignore this advice! Additionally, if you sniff out anything fishy—or cheesy, in this case—don’t taste-test to confirm your suspicions. If in doubt, throw it out!
And hey, if you’re wondering, “But what about that silky dressing we talked about earlier?” Don’t fret! It’s time to whisk in some magic next. Stay tuned for the skinny on dressing those curds to impress—right after these messages.
Well, howdy folks! Ever found yourself in a cheesy pickle while trying to whip up some large curd cottage cheese? Don’t sweat it, ’cause I’ve got your back! Let’s dive into some frequently asked questions that might just be bugging ya.
Ironing Out Curd Conundrums
So, you’re aiming for curds so big they make Texas look tiny, and, whoops, they come out all sizes of small. The trick, my friend, is all in the curd cuttin’. Think gentle, think precise. Use a long knife and cut slowly – patience is a virtue, and in cheesemaking, it pays off with those lusciously large curds we’re all chasin’ after 🧀.
Mishaps in the Making
Who hasn’t had a batch go sideways? If your curds are playing hardball – too hard or too soft – it could be a sign you gotta check your temperature. Milk is like Goldilocks; it likes it just right. Too hot and you got rubber; too cool and you’re in mush city. Here’s the deal: use a trusty thermometer and aim for that sweet spot. Check it twice, like you’re Santa or something.
Leftover Whey: Waste Not!
- Rise and Shine Smoothies: Throw a splash into your morning smoothie. (Trust me, it’s like protein powder but au naturel.)
- Bake It Till You Make It: Substitute it for water in baked goods. (Hello, fluffy pancakes!)
- Garden Goop: Feed your plants. (Yeah, you heard right. Your tomatoes will thank you with a bumper crop.)
Remember, mistakes ain’t failures; they’re just stepping stones on the path to curd glory. Keep these tips in your apron pocket and you’re well on your way to becoming a bonafide curd nerd. 😜
In closing, don’t fret if things get a bit curdled in your kitchen theater; it’s all part of the cheesy ride. Stay creative, keep experimenting, and above all, enjoy the fruits (or curds) of your labor! Thanks for reading and stay cheesy, my friends!