
The Essentials of Sourdough: Flourishing Without a Dutch Oven
Hey there, fellow bread buffs! Let’s talk about sourdough – that tangy, chewy goodness that’s as old as the pyramids but currently as trendy as avocado toast. Now, I know what you’re thinkin’: “Can I really make killer sourdough without that heavy, clunky Dutch oven?” Spoiler alert: You bet your last packet of yeast you can!
Understanding the Science of Sourdough
First off, let’s get our nerd on for a sec and talk about what makes sourdough the belle of the bread ball. It’s all about fermentation, baby. Those wild yeasts and lactobacilli are having a party, and the result is that classic sour tang and an airy, open crumb structure that’s to die for. 🥖
Advantages of Dutch Oven Alternatives
Now, I hear ya, “But my Dutch oven makes everything so crusty and delicious!” True, but so can a whole host of other kitchen gizmos. Ever heard of a pizza stone or a trusty ol’ cast iron skillet? These bad boys emulate the Dutch oven’s steamy environment that gives sourdough its crispy crown. And let’s not forget, a lighter alternative means no more heavy lifting, and that’s a win in my book!
Get ready to roll up your sleeves, ’cause we’re about to dive into the deep end of doughy delight—no Dutch oven required. Stay tuned for my next post, where I’ll spill the beans on how to craft the perfect dough. And hey, if you don’t wanna miss out on all the bread-breaking action, make sure to subscribe!
In closing, remember: baking sourdough is like a dance with flour and water, and you don’t need a fancy dancefloor to boogie down – just your oven, some ingenuity, and a pinch of patience. Thanks for reading, breadheads! Keep on loafin’ around! 😄🍞
Crafting the Perfect Dough: Foundation for a Dutch Oven-Free Loaf
Alright, my fellow bread enthusiasts, let’s get down to business and talk dough—sourdough, to be exact. Now, don’t you go thinking you need a fancy shmancy Dutch oven to whip up a loaf that’ll knock your socks off. Nope, not at all! We’re talking about crafting the perfect dough that can stand on its own two feet, or uh, well, crusts.
Balancing Ingredients for Robust Flavor
First off, let’s chat ingredients. I mean, seriously, who knew flour, water, salt, and a pinch of fermentation fairy dust could create such a symphony in your mouth? But here’s the kicker—the balance has gotta be just right. Think Goldilocks, but with flour. Too much water and your dough will be slippin’ and slidin’ like it’s on a slip ‘n slide. Not enough, and it’s drier than a popcorn fart. Too technical? Maybe, but you get the picture.
Techniques for Kneading and Fermentation
Onward to kneading! Now, I know it’s tempting to go all Hulk on that dough, but finesse is key here. You want to knead it like you’re giving a gentle, yet firm massage—enough to get the gluten all jazzed up without going overboard.
And, oh boy, fermentation—this is where the magic happens. It’s not just about letting it sit there like a lump. It’s about giving it time to rise, develop flavors, and get all bubbly and exciting.
So, there you have it, compadres. The foundation of a stunner loaf of sourdough without a Dutch oven in sight. Remember, it’s all about balance and technique—nail those, and you’re golden. Like, literally, your crust will be the most gorgeous shade of golden brown. Just wait and see!
Oven Preparation: Mimicking Dutch Oven Conditions
Okay, sourdough savants and home bakers alike, gather ’round! Today we’re talkin’ about turnin’ your run-of-the-mill kitchen oven into a sourdough sanctuary. Now, don’t get me wrong, a Dutch oven is a baker’s BFF for that golden crust we all drool over, but guess what? You can still knock it outta the park without one. Let’s dive in!
Creating Steam for a Crisp Crust
First up, let’s talk steam, baby! Steam is like the secret sauce for that crackly crust. You want to trap that moisture, so your loaf feels like it’s at a spa – hot and steamy. Here’s a hot tip: toss a couple of ice cubes or a pan of water in the oven while baking. Trust me, it’s like magic. The steam works overtime to give you that artisanal bakery-style crust we can’t get enough of.
Regulating Temperature for Optimal Rise
Now, onto the heat. We’re going for that sweet spot where your dough puffs up like a proud peacock – and that’s all about temperature control. Crank up that oven to preheat, and don’t be shy. Hotter is better here, folks. But remember, not all ovens are created equal – keep an eye on your loaf and adjust as needed, like you’re turning knobs on a DJ booth. Oh, and don’t forget to let that bad boy preheat. We’re talking at least a solid 30 minutes of warm-up before showtime!
Look, nobody said you need fancy gear to whip up bakery-level bread. It’s all about mastering the environment. So, roll up those sleeves and get that oven ready for its transformation. Your sourdough will thank you – with every crunchy, delicious bite. Happy baking!
Suitable Bakeware: Selecting the Right Tools for the Job
Hey there, fellow home bakers! Let’s talk shop for a sec. You wanna bake sourdough but don’t have a Dutch oven? No sweat! I’ve been there, experimenting with every pot and pan in my kitchen, and guess what? I’ve found some real gems that work wonders.
Evaluating Materials and Shapes
First things first: materials matter. You’re looking for something that can handle high heat and distribute it evenly. Enter the trusty cast iron skillet. This bad boy’s not just for frying eggs; it can give you a crust to die for. But don’t overlook the baking stone or steel – these dudes create a consistent, scorching platform for your dough babies to get a beautiful bottom.
Now, shape-wise, you might be thinking round is the way to go, but hold your horses! Rectangle baking stones offer more surface area, which means more room for multiple loaves or that extra-large, show-stopping bread that’ll have your friends ooh-ing and aah-ing.
Unconventional Implements That Surprise
Okay, brace yourselves for this one. Have you ever thought about using a cloche? You know, those bell-shaped ceramic or glass covers? They can trap steam like nobody’s business, giving you that glossy, crackly crust we all crave. And here’s a curveball – a stainless steel bowl. Invert it over your dough on a hot baking sheet, and voila! You’ve got yourself a steam dome on the cheap.
- Cast Iron Skillet – The crust charmer
- Baking Stone or Steel – The even-heat hero
- Ceramic Cloche – The steam master
- Stainless Steel Bowl – The budget baker’s buddy
So, there you have it, folks! Who says you can’t teach an old kitchen new tricks? With a pinch of ingenuity and a splash of daring, you’ll be cranking out sourdough that’s just as drool-worthy as anything from a Dutch oven. Keep on baking, and remember – the best tool is your own creativity!
The Art of Scoring: Guiding Your Loaf to Perfection
Listen up, folks – when we talk sourdough, scoring isn’t just to make it pretty. It’s like the secret handshake of the bread mafia; it tells your loaf exactly how to behave in the oven. And lemme tell ya, without a Dutch oven, you’re gonna need it more than ever. So let’s cut to the chase and talk about making those slices count.
Techniques for Deeper, Artful Scores
Okay, grab your lame – no, not that kinda lame, the razor-blade-on-a-stick thingy – and get ready to channel your inner Van Gogh. You want deep, decisive scores that look good and serve a purpose. Tilt your blade at a cool 30-degree angle and slash with confidence, but don’t go hacking like it’s a horror movie, alright?
- Start with a simple cross for a classic look.
- Feel adventurous? Try patterns like wheat stalks or even your initials!
How Scoring Can Compensate for No Dutch Oven
When you’re without the luxury of a Dutch oven’s snug embrace, your scoring game has gotta pick up the slack. It’s all about steam control and giving your bread the space to blossom into its best self. So, just as Indiana Jones navigates booby traps, you’ll be strategic with each slice – directing the loaf to expand right where you want it.
“A loaf without scores is like a joke without a punchline – it’s got no grand finale.” – Anonymous bread whisperer
Pro Tip: Spritz a bit of water on top before the loaf hits the heat to help those scores open up like a flower in the sun.
Now get out there and score some sourdough. Remember, it’s not just the bread that’s rising – it’s you, my friend, leveling up in the world of baking mastery! And hey, when in doubt, just think – WWSGD (What Would Sourdough Gurus Do?). Score away!
Keep baking, scoring, and rocking that crust. 🍞✂️
Baking Techniques: Honing Your Sourdough Skills
So, you’ve tackled the ins and outs of sourdough sans Dutch oven, and now it’s time to crank that oven up and get to the real action. Here’s the skinny: baking a loaf that’s gonna make your taste buds do the tango simply boils down to timing and heat, baby—let’s dive in!
Expert Timing for the Quintessential Bake
First things first – you’ve got to preheat your oven like it’s rehearsing for the sun’s next solar flare. Seriously, crank it up and give it plenty of time to heat thoroughly—usually about 30 minutes. Your goal? Mimic the intense, consistent heat of a Dutch oven. Stick a pizza stone or some unglazed tiles in there if you’ve got ’em; they’re ace at holding onto that heat.
Now, plop your lovely loaf on this scorching stage and watch the magic unfold. Remember, keep an eye on the clock! Typically, we’re talkin’ about 20 minutes under the cover of steam, followed by 20-30 minutes more to get that golden tan. And, hey, don’t open the oven too much! You’re not baking cookies here, folks.
Indicators of Doneness Without a Dutch Oven
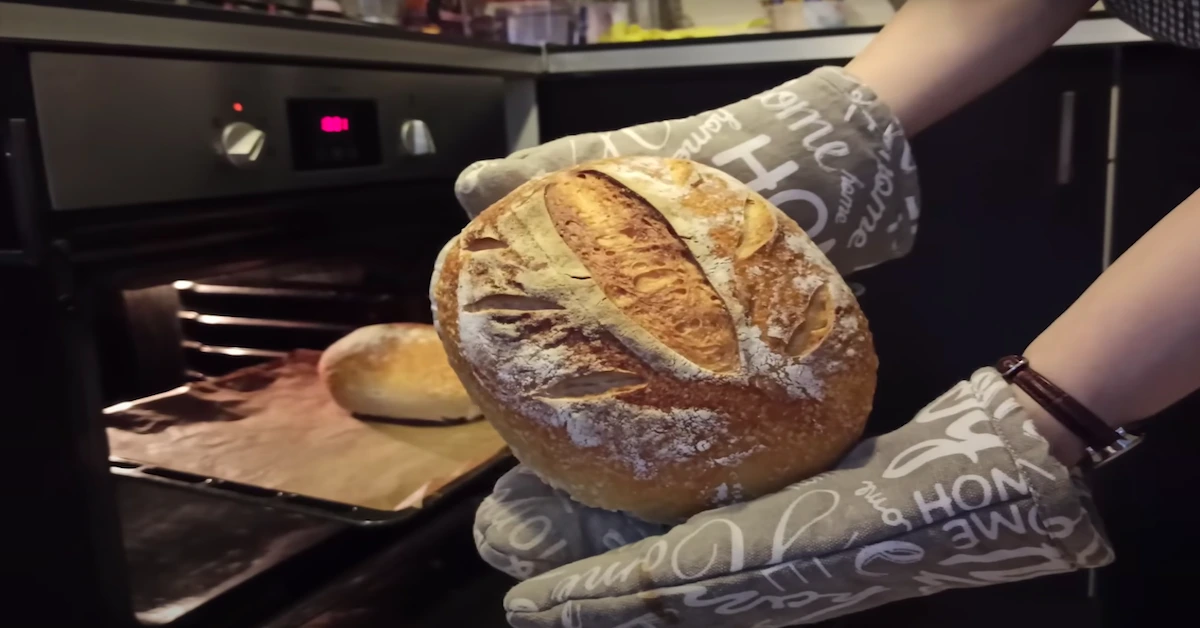
Here’s the deal – you want to spot that sweet spot when the crust is a symphony of crispness, without turning your bread into a charcoal briquette. Keep your peepers peeled for a deep, rich color, not just golden but with a hint of a suntan. Now, tap that bottom (the loaf’s, obviously) and listen for a hollow sound—music to a baker’s ears.
So there you have it, folks! Sure, you could buy a loaf from the local bakery and save yourself the trouble. But where’s the fun in that? With a little practice, you’ll be pumping out artisan levels of excellence, no Dutch oven, no sweat. And remember, the crowning glory of bread making is pulling that perfect loaf outta your own oven – makes you feel like a culinary rock star! 🎸🍞
Before you bounce, can’t stress this enough—don’t let the fear of a missing piece of equipment stifle your baking dreams. With the right techniques, your sourdough will be something to brag about at the next block party. Till next time, keep your mitts floured and your oven hot!
Post-Baking Tips: Achieving and Preserving the Ideal Crust
You’ve done it, amigos! Your sourdough bread has emerged from the oven, and it’s lookin’ as gorgeous as a sunrise on a San Diego beach – but hold your horses! The journey ain’t over yet. Here’s how you treat your loaf post-baking to make sure it stays as delightful as your Aunt Mabel’s Thanksgiving pie.
Cooling Routines for Lasting Texture
First things first, how you cool it will determine whether you’re headed for crisp delight or soggy disappointment. Now, you might be tempted to just chuck that bad boy onto a cooling rack and call it a day, but simmer down and consider this – a little patience goes a long way. Let your baby cool completely; it’s still cookin’ inside, folks!
- Pro Tip: Transfer your bread onto a wire rack. This ensures air circulates all around, preventing that dreaded steamy bottom. You want it crusty, not squishy!
- Expert Guide: Wait before slicing. I know, I know, it’s more tempting than a chocolate fountain at a kiddie party, but trust me, slicing too soon collapses all that airy goodness we’ve worked so hard for.
Storage Hacks for Prolonged Freshness
Moving on, let’s gab about storage. How you stash your bread can mean the difference between extending that just-baked taste or bidding it adieu. Here’s the skinny:
| Storage Method | Expected Outcome |
|---|---|
| Bread Box | Keeps moisture at bay, sharing hugs not too tight or too loose. |
| Bread Bag | Preserves crusty character, akin to keeping a secret, ensuring nothing spills! |
| Freezer | A safe haven for long-term relationships, giving your bread a pause button. |
Remember: Airtight is not right for sourdough. It’s like wearing a winter coat in the desert – it doesn’t make sense! A lil’ breathing room keeps your crust rad and your inside fab. And don’t even think about the fridge; that’s the Bermuda Triangle for bread freshness, baby!
In closing, these post-baking rituals are as essential as your grandma’s secret cookie recipe. They’re the final spices in your sourdough symphony, ensuring each slice is a headliner at your taste bud concert. So, let that loaf sing, and thank YOU for tuning into the breadhead blog-o-sphere! 😊🍞 Stay crusty, my friends!
FAQs: Bounding Over Dutch Oven-Free Baking Hurdles
Alrighty folks, let’s tackle the big sourdough questions—you know, the ones that get bread aficionados all in a twist. I’ve baked more loaves than I could count and even more without my trusty Dutch oven. I’ve faced every hiccup, but come out wiser on the other side, and I’m here to share that yeasty wisdom with you. So let’s dive into some of those head-scratchers, shall we?
Can I Achieve the Same Sourdough Quality Without a Dutch Oven?
First up, the million-dollar question! Can loaf nirvana be reached without our beloved Dutch oven? You bet your bottom breadcrumb! It’s all about that steamy relationship with your oven. Pop a tray of water in there, and voilà – you’re steaming like a sauna. The result? A crust that crackles with joy and an inside that’s softer than your favorite bunny slippers.
What Are the Telltale Signs of a Perfectly Baked Sourdough Loaf?
Ah, the signs of perfection—like finding the Holy Grail but in bread form. It’s all about color, texture, and sound. You’re shooting for a golden-brown hue, a crust that sings when tapped, and an interior that’s got more holes than my fishing net—airy and light!
Humid kitchen got your loaf feeling down? No sweat! Crank open a window or get that A/C humming. Counteract the steam with a bit of good old-fashioned air circulation. It’s like a breath of fresh air for your bread’s soul.
Tips to Keep the Bottom from Burning?
- Avoid the dreaded burnt bottom by double, even triple layering your baking sheets. It’s like a cushion for your bread’s tush.
- And hey, don’t be shy—lower that rack. Keep your doughy baby away from the fierce flames below.
There you have it—breadless in Seattle no more! Remember, you don’t need a Dutch oven to make wonders happen in your kitchen. With a dash of ingenuity and these tips in your baker’s toolkit, your loaves will be turning heads and tempting taste buds like never before.
Overall, just remember the power of practice, a sprinkle of patience, and a smidgeon of creativity. That’s the recipe for a brilliant bake.
Thanks a bunch for reading, pals. Keep rockin’ those breads and, as always, “Keep your slices saucy!” 😉🍞